🎃 White Nightmare Cake Recipe – A Spooky Delight
Some cakes are simply beautiful, while others tell a story. The White Nightmare Cake recipe is more than just dessert — it’s a spooky centerpiece made for Halloween nights, eerie gatherings, or any time you want to impress with a touch of mystery.
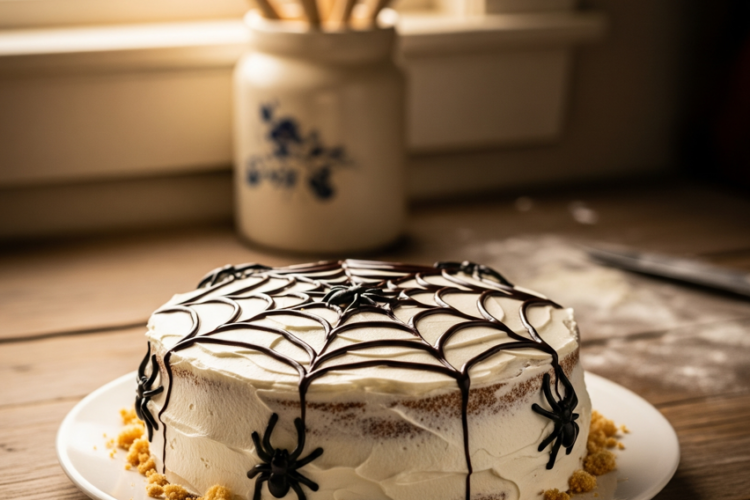
Unlike traditional vanilla cakes, this one brings drama to the table with its silky frosting and spiderweb chocolate design. Moreover, it feels both comforting and chilling at the same time, making every bite an experience. In fact, the contrast between the soft white layers and the dark chocolate webs perfectly captures the haunting spirit of the season.
For me, baking this cake is not just about mixing flour and sugar. Instead, it’s about creating moments — laughter while decorating, excitement while unveiling it, and the cozy satisfaction when everyone takes that first bite. Truly, it’s a cake that combines artistry, indulgence, and festive fun in one spooky masterpiece.
🧁 Ingredients for White Nightmare Cake
For the cake:
- 2 ½ cups all-purpose flour
- 2 ½ tsp baking powder
- ½ tsp salt
- 1 cup unsalted butter (softened)
- 2 cups sugar
- 4 large egg whites
- 2 tsp vanilla extract
- 1 cup milk
For the frosting:
- 2 cups heavy cream
- ½ cup powdered sugar
- 1 tsp vanilla extract
For the decoration:
- ½ cup melted dark chocolate
- Optional: edible spiders or plastic toppers for effect
🕷️ A Cake That Feels Like a Story
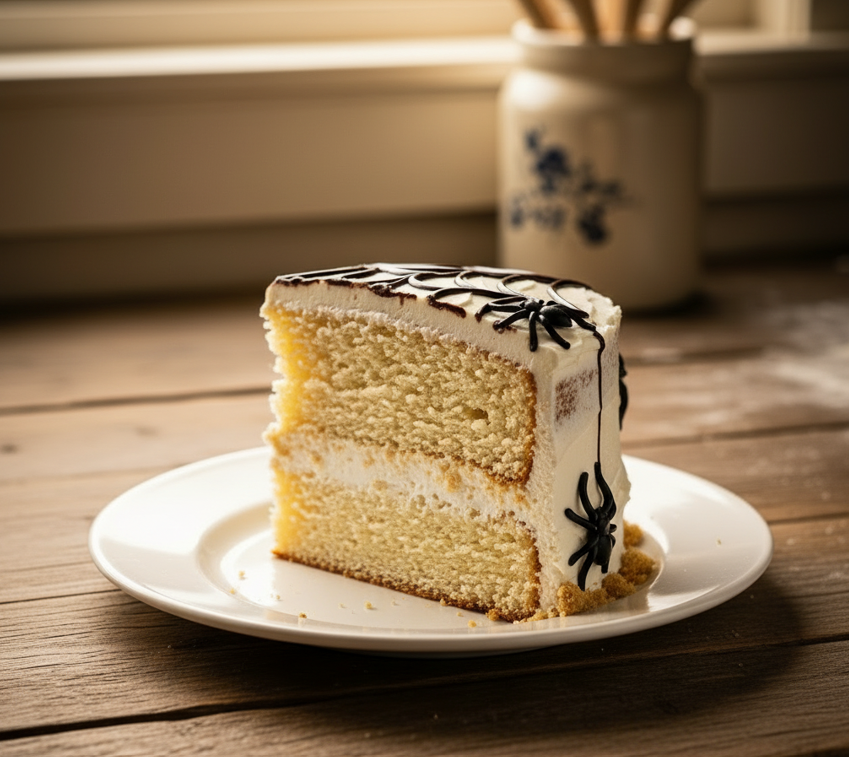
I love desserts that tell a story before you even taste them. This one whispers of midnight gatherings, candlelight, and the kind of cozy chills only Halloween can bring. The soft, white sponge contrasts beautifully with the dark chocolate web, and together they create an edible scene — almost too pretty to cut into.
Every slice feels like a surprise, a mix of light and dark, sweet and spooky. That’s why it’s become one of my go-to cakes for October nights.
🥄 How to Make White Nightmare Cake
Step 1: Bake the Cake
Preheat oven to 350°F (175°C). Grease and line two 9-inch cake pans. Whisk together flour, baking powder, and salt. In another bowl, cream butter and sugar until fluffy, then add egg whites and vanilla. Alternate adding dry ingredients and milk until smooth. Divide batter into pans and bake for 25–30 minutes, or until a toothpick comes out clean. Let cool.
Step 2: Whip the Frosting
Beat heavy cream, powdered sugar, and vanilla until soft peaks form. Keep chilled.
Step 3: Assemble the Cake
Place one cake layer on a serving plate, spread frosting, then stack the second layer. Cover the whole cake with frosting and smooth the surface.
Step 4: Create the Spiderweb Design
Using melted chocolate, pipe lines radiating from the center of the cake outward. Then, connect the lines in circular arcs to form a web. Add edible spiders for the final spooky touch.
🍰 Tips for a Perfect White Nightmare Cake
- For a lighter texture, don’t overmix the batter.
- Chill the cake before decorating — it helps the chocolate set neatly.
- Use a piping bag or even a small zip-top bag with the corner cut for clean chocolate lines.
📌 Save This Recipe on Pinterest
Want to keep this hauntingly beautiful cake for later? Save it to your Pinterest board here: White Nightmare Cake on Pinterest
💛 Recipes You May Also Love from MimiYummy.org
If you loved this spooky cake, here are more recipes to bring sweetness and a little magic to your table:
- Bloody Knife Red Velvet Cake 🩸🍰
- Spiderweb Chocolate Cake 🕷️🍫
- Coconut Cream Pie Cups 🥥🥧
- No-Bake Biscoff Cheesecake Slice 💛
🖤 The Magic of Spooky Cakes
Halloween isn’t only about candy — it’s also about creativity in the kitchen. This cake lets you step into the role of artist, storyteller, and baker all at once. Every drizzle of chocolate, every spider you place, adds to the playful drama. And when you serve it, the smiles (and squeals!) from guests make it all worthwhile.
So, while it looks spooky, the truth is — this cake is pure joy.
✨ This White Nightmare Cake blends softness, sweetness, and a touch of spookiness — perfect for Halloween nights, themed birthdays, or just when you want dessert with personality.
Recipe by Mimi Yummy 💛